Are you about to embark on your veneers transformation? If so, there may be a number of questions circling your mind. What is the process of getting veneers? What will they look like on me? Can they look natural?
While our expert dentists will make sure to run you through everything you need to know during your consultation, this article will provide you with a general overview of what you can expect.
The process of getting veneers is detailed and meticulous. The step-by-step veneers process involves a thorough design of your smile, with an outcome tailored to your smile goals.
Let’s get into it!
What do veneers look like?
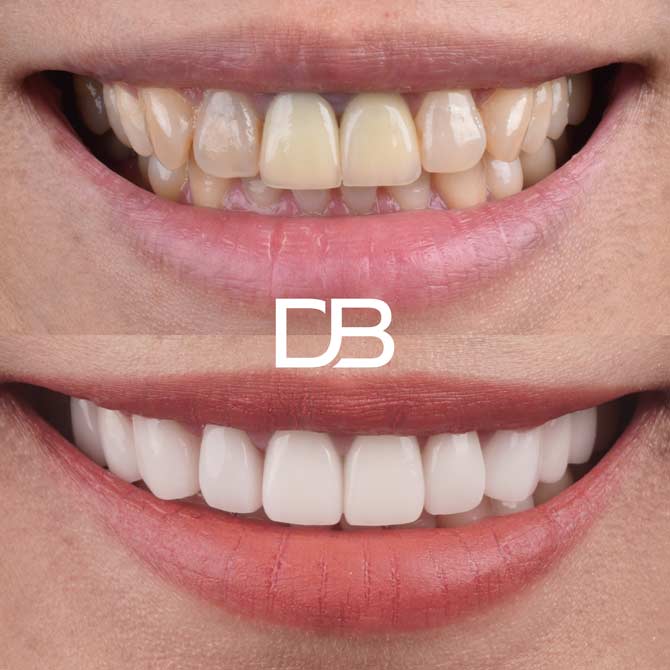
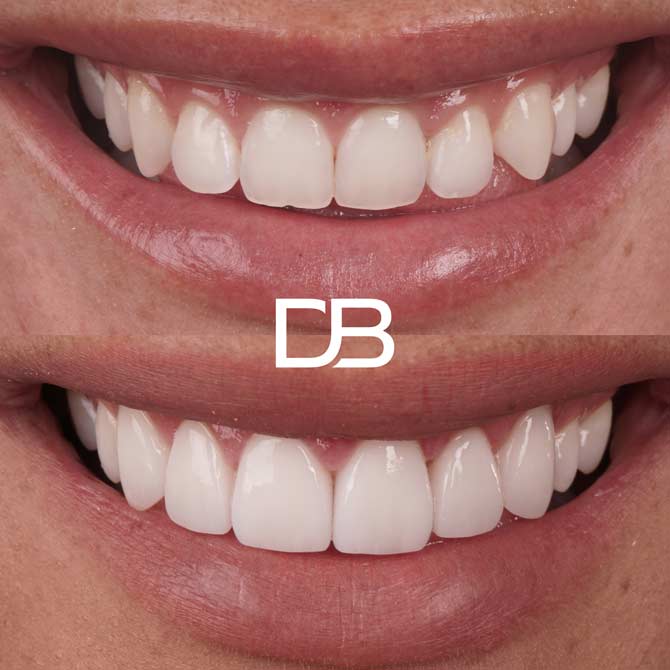
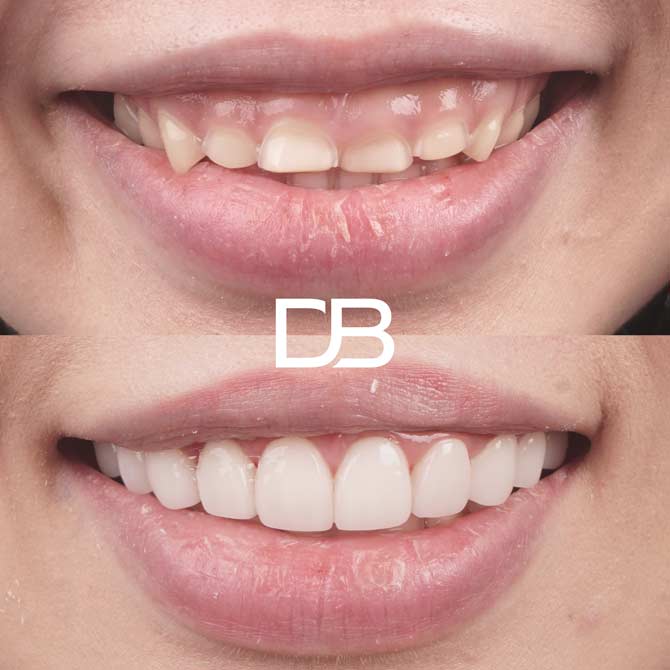
There are many factors that impact how veneers look, including your personal goals, your proportions and the materials you land on.
Are you after a natural-looking smile or something more Hollywood? These factors will impact how your veneers turn out.
During the process of getting veneers, you’ll be able to design your smile exactly how you like it. Alongside your dentist, you’ll be able to pick out the shade, shape and materials of your veneers.
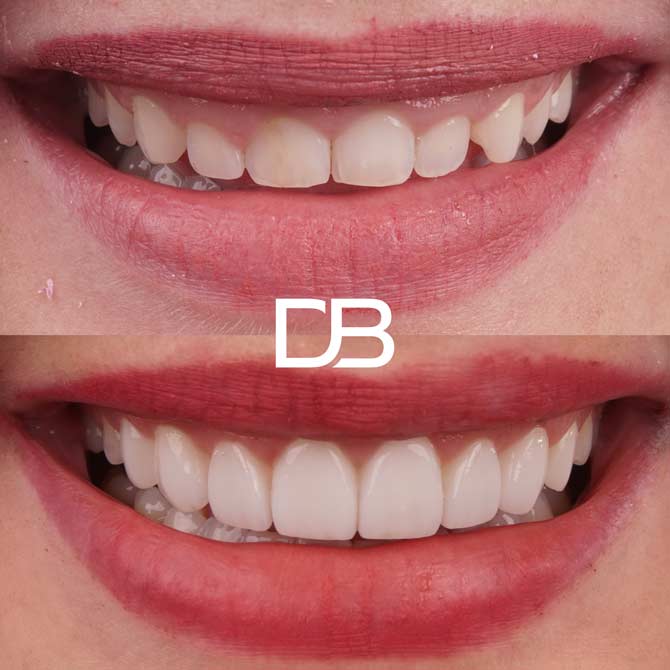
The materials you use will also affect how your veneers will look. Most dental clinics offer the choice of porcelain veneers or composite veneers.
Porcelain veneers are made from ceramic and mimic natural-looking teeth, while composite veneers are made from acrylic and garner a slightly more artificial result.
Can veneers look natural?
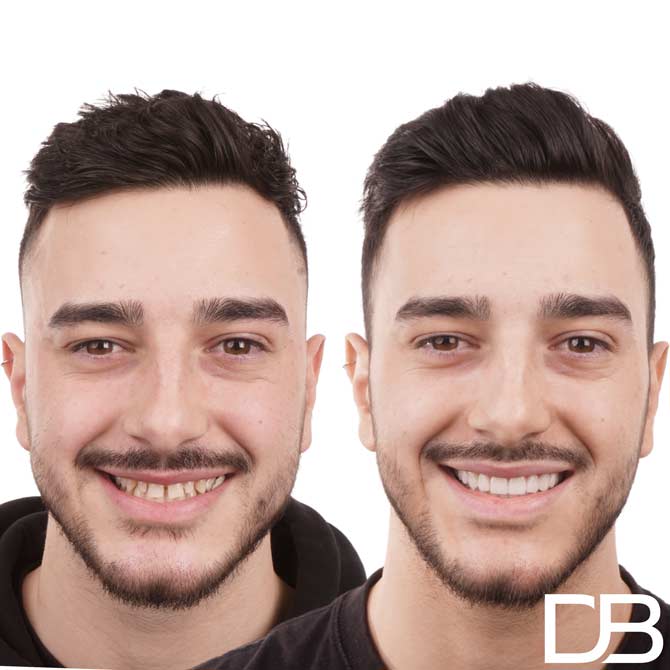
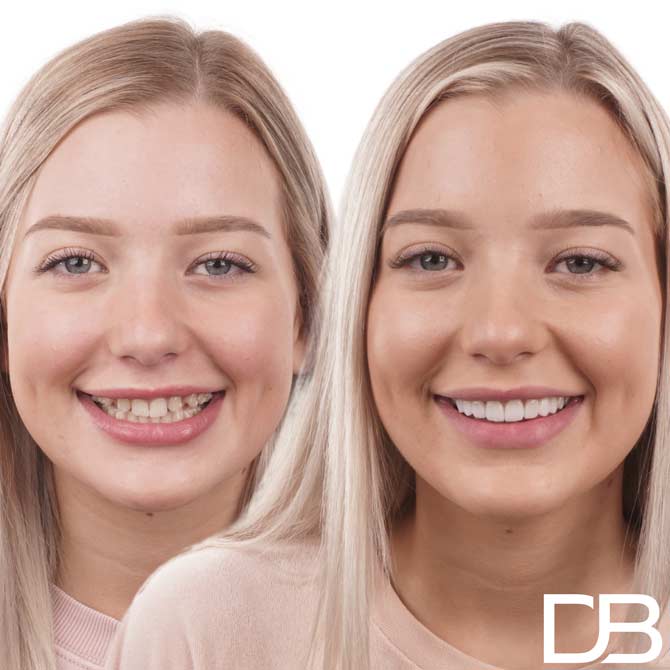
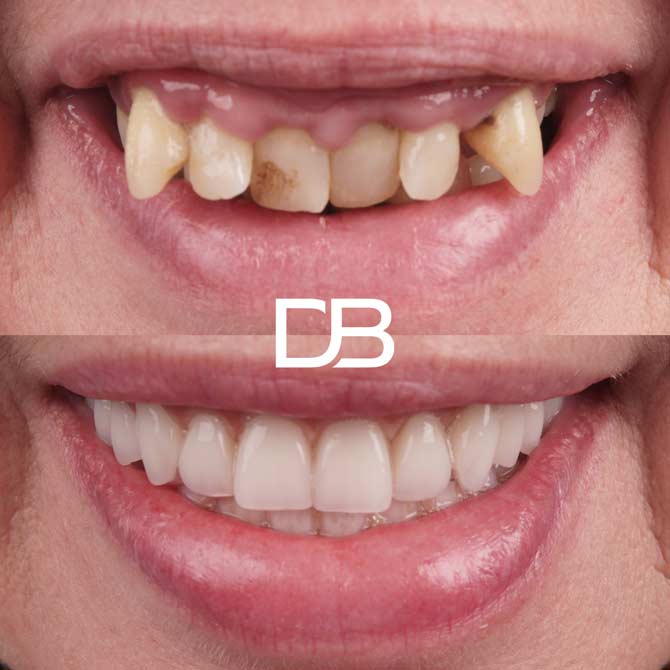
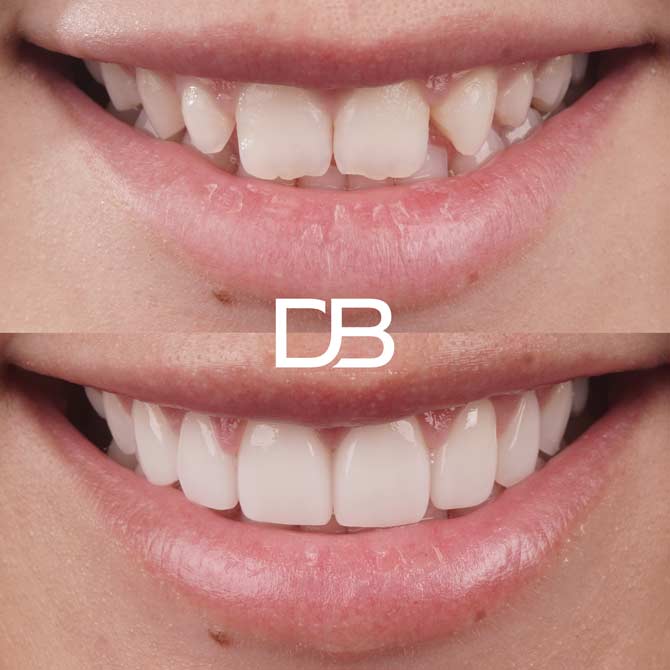
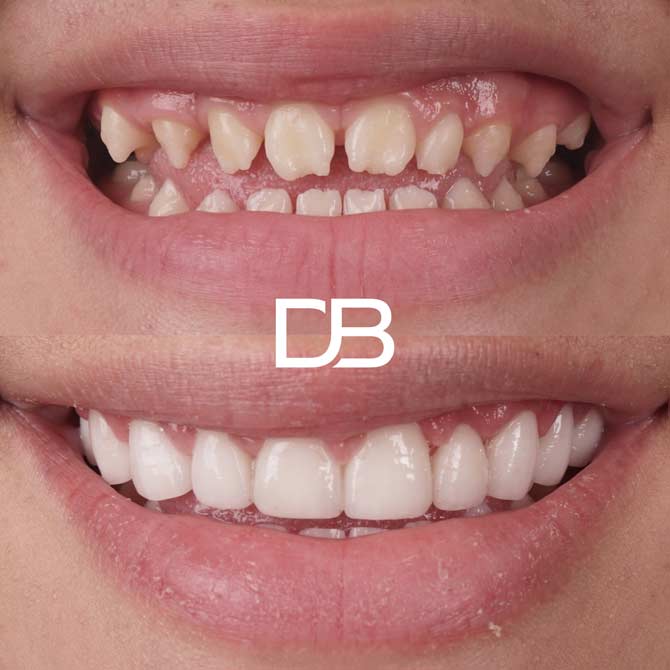
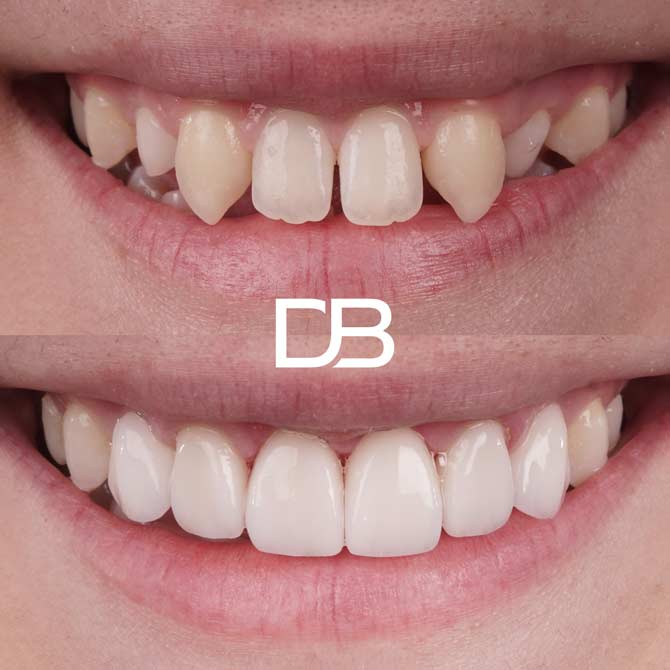
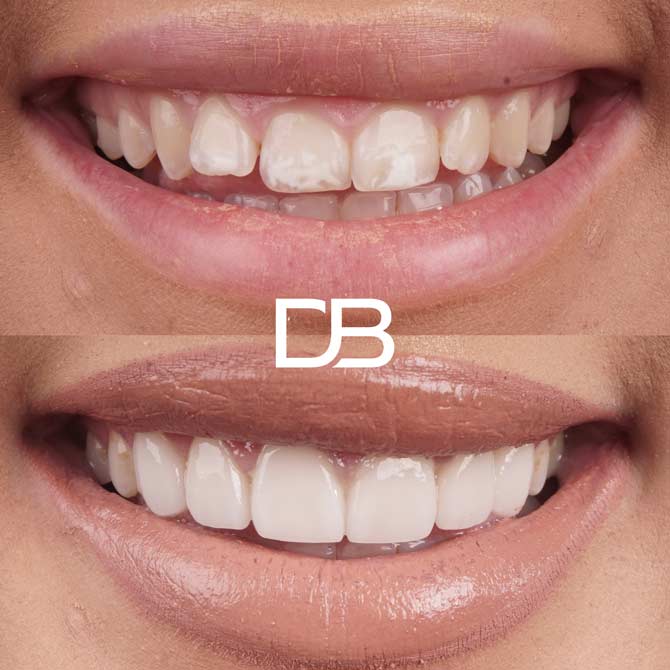
A question we often get asked is, ‘can veneers look natural?’ And the answer is, absolutely! Your dentist will be able to recommend a smile design that looks most natural for your complexion and mouth.
For natural-looking results, we recommend porcelain veneers.
You can learn more about porcelain veneers and their benefits in our article ‘The Benefits of Dental Veneers: Transforming Your Smile‘.
What is the process of veneers?
The veneers process is an exciting one, but it includes many crucial steps. Below we’ll unpack the whole process so you can feel fully prepared for what’s to come.
An overview of the step-by-step veneers process
There are six main steps in your veneers process:
- Design your smile
- Whiten your teeth
- Embark on your smile trial
- Create your permanent veneers
- Create a night mouthguard
- Attend your check-up.
Step One: Design your smile.
The process of getting veneers includes plenty of collaboration between you and your dentist.
This helps your smile dreams steer the process and ensures you get the results you were looking for.
Before your first consultation, we recommend getting clear on your smile results. How natural do you want to look? Do you want a feminine result or something bold? Search on Google Images or even Pinterest to find smiles you love and save your favourites.
Then, at the beginning of your veneers process, it’s important you help your dentist fully understand what you’d like your smile to look like.
The best way to do this can often be to bring your photo inspiration to your consultation. This provides a clear visual representation that cuts out any subjectiveness.
It’s a good idea to have photos of three to five different smiles because, chances are, not every smile will be suitable for you.
Your dentist will then use your inspiration to inform your smile, tailoring your vision to your proportions.
Everything from your body, height, face shape and tooth size will be considered when designing your smile – this helps garner the best results possible.
Step Two: Teeth whitening.
A small yet crucial step in your veneers process, we’ll do some teeth whitening to land on the right veneers shade.
Your dentist will use in-chair and take-home whitening kits to whiten your natural teeth until you’re happy with your shade.
The shade you land on will inform the colour of your veneers, and colour-matching the two will allow for an even smile.
This step in the process of getting veneers is important because veneers can’t be whitened once they’ve been made; therefore this will be the only chance you get to land on a veneers shade you like.
You can read more about teeth whitening and veneers in our article ‘Can You Whiten Composite Veneers?‘.

Step Three: Your smile trial (what will I look like with Veneers?).
Even if your smile design seems super straightforward, it can still be hard to picture what you’ll actually look like with veneers.
This is where a smile trial comes in.
A smile trial is where temporary veneers are placed along your teeth to give you an understanding of what the final result will look like.
Your dentist will take a mould of your teeth and design a blueprint of your smile based on that model.
They’ll then use a bit of wax and plastic on your teeth to mimic what your final veneers will look like.
Your smile trial is a crucial step in your veneers process because it allows you to see if your dentist has the right vision in mind and lets you make any changes before your permanent veneers are placed in.
You can also use your smile trial to see what your friends and family think too. Peer feedback is a great way to gather different perspectives that may positively impact your new smile.
Step Four: Your permanent veneers.
Once you’re happy with the general gist of your veneers, the next step in your veneers process is to craft your permanent veneers.
At Dental Boutique, VeneerMe porcelain veneers are crafted from pure Italian ceramics, creating an artisan result that is unique to you.
When your permanent veneers are complete, you and your dentist will review their shape, size and texture to ensure everything aligns with your vision.
Together, you’ll also analyse your veneers under different lights to see how the shade and characteristics of your veneers change.
For example, fluorescent light will create a harsher shade, warmer lighting may make your veneers appear more yellow, while sunlight will make your veneers appear natural looking.
Seeing your veneers in different lighting can help you understand how your veneers will look like in varying public environments, allowing you to make any tweaks for the best possible results in all circumstances.
Your dentist will then temporarily attach your veneers to your teeth so you can get a feel for them.
If you’re confident that no more tweaks are required, your dentist will permanently add your veneers.

Step Five: Your customised nightguard.
A nightguard is recommended to protect your veneers and ensure you get the most lifespan out of them.
Your dentist will create a personalised nightguard for your veneers to protect them from any grinding or clenching in your sleep.
Wearing a nightguard will also prevent your beautiful veneers from shifting over time.
Step Six: Your six-month check-up.
The last step in the process of getting veneers is to come in for your six-month check-up.
During your check-up, your dentist will make sure your veneers are functioning as they should be and look as good as new!
The takeaway
The veneers process is full of collaboration from start to finish. From designing your smile to trialling your veneers and making the final tweaks, your vision and desires steer the ship.
If you have any friends or family who are interested in transforming their smile and may benefit from learning about the process of getting veneers, feel free to share this with them so that they can get the smile they want on the first go.